Winterizing your RV will not only save you a couple of bucks but will also introduce you to the whole water supply and drainage system in your second home. So next time if you occur a problem with your RV, you could even fix it by yourself.
While the plumbing system is the main concern when it comes to winterizing, you’ll need to take care of the interior and exterior as well. Since an RV is not only a vehicle but also a home, the winterizing checklist may be slightly bigger than what you’re used to with your daily driver.
It may seem difficult if you’re winterizing your RV for the first time, but don’t get discouraged. By following these winterizing tips, you’ll be sure to prepare your home on wheels for harsh winter months.
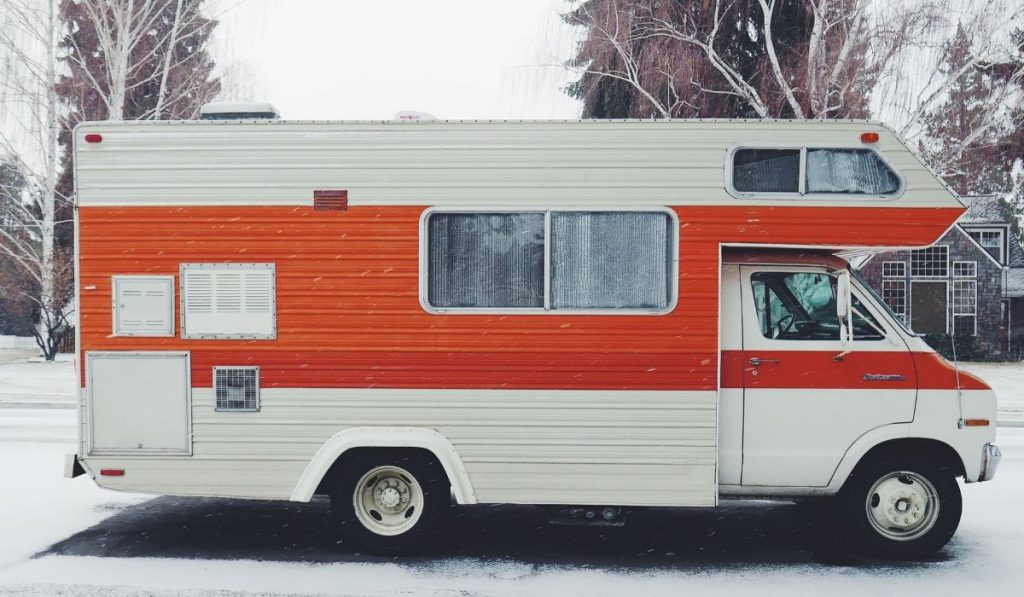
1. Drain the tanks
The first and foremost step to properly winterize your RV is draining all that water from tanks, faucets, and valves. You know what happens when the temperature goes under 32 degrees. Frozen water in pipes and tanks could easily damage and break your entire water supply and drainage system.
Start with draining the master RV hose. After the master, empty the fresh water drain. This one could be located on the base of the tank below the passenger’s door. Make sure to check the owner’s manual since every model and year has different drain locations.
After draining the holding tanks and fresh tanks, the third step is draining the water heater. Once you find it, remove the cover of the water heater and release the pressure in the tank by pulling the pressure relief valve.
On the base, you’ll find the drain or the anode rod. You’ll need a wrench to open it and release all the water from the tank. Don’t worry if there’s some white sediment in the water. That is normal because of calcium and other minerals found in hard water.
2. Use air pressure to remove the remaining water from the tank
Connect the pressure regulator to the city hookup. It’s important not to exceed 40 PSI since it can damage the system.
Connect it for the first time to drain all the remaining water from the water heater. Make sure the water heater (anode rod) is open at this point.
Now you can release it and continue onto the next step. However, make sure to leave everything as is. You’ll need to repeat this process in the fourth step.

3. Bypass the water heater
This step is essential for both draining water and introducing the antifreeze. If you skip this step, you would waste as much as five times more antifreeze liquid.
On some newer RVs, this process is as simple as turning the valve to “bypass.” If you don’t have this labeled, you’ll need to figure out where the valve is located. The manual for your particular model will help you with this since valves do vary.
The bypass valve is usually located in the middle – between the hot and cold water valve. First, you need to close both, hot and cold water inlet. The valves are open when they are inline with the hose.
Next, open the bypass loop which will allow the air pressure and water to bypass the tank so you could blow the rest of the system without losing air through a big water heater tank.
It is the same with pouring antifreeze – like this you will bypass the (empty) water heater tank and preserve the remaining system.

4. Remove water from pipes and faucets with air pressure
Reapply the air pressure in the water system as in step 2.
Now go to every faucet in the RV and open both, hot and cold water to drain all remaining water. Make sure to blow everything where you have water – bathroom and kitchen faucet, toilet flush, outside shower, etc.
One more time, don’t forget to use a regulator to limit the pressure to 40 PSI maximum.

5. Introduce antifreeze through the water pump
There are two options for this. First is to install a converter kit into a water pump and run the antifreeze that way.
The other, and probably the easier method is to remove the inlet hose from the water pump and attach one end of an extra hose to the pump and put the other end inside of the antifreeze container. You can identify the inlet hose by the white strainer – there is always one at the end.
This way, you’re not putting large amounts of antifreeze into a freshwater tank. More importantly, you’re not left with the antifreeze smell and taste once you refill the tank with fresh water.
If you keep antifreeze inside of freshwater tank during the winter, you will need months to get rid of it. By the time fresh water is fresh again, it will already be time to do another winterization.
Once the hose is inside of the antifreeze container, turn on the water pump and open all faucets (hot and cold water) until you see the colored water (antifreeze) running through the system.

6. Inspect and clean interior and exterior
Once you finish the hard part regarding the water system, it’s time for less thinking and more working. This one should not differ from any general maintenance you’ve done by far, except removing all unnecessary things.
Everything that’s not an essential part of your RV should be taken elsewhere. Empty all your drawers, remove the bedsheet, blankets, mattresses, and towels. If going into storage at an RV storage facility make sure to remove anything valuable such as TV, gadgets, players, tools, etc
Don’t forget to unplug all electronic devices, chargers, and defrost your fridge and/or freezer.
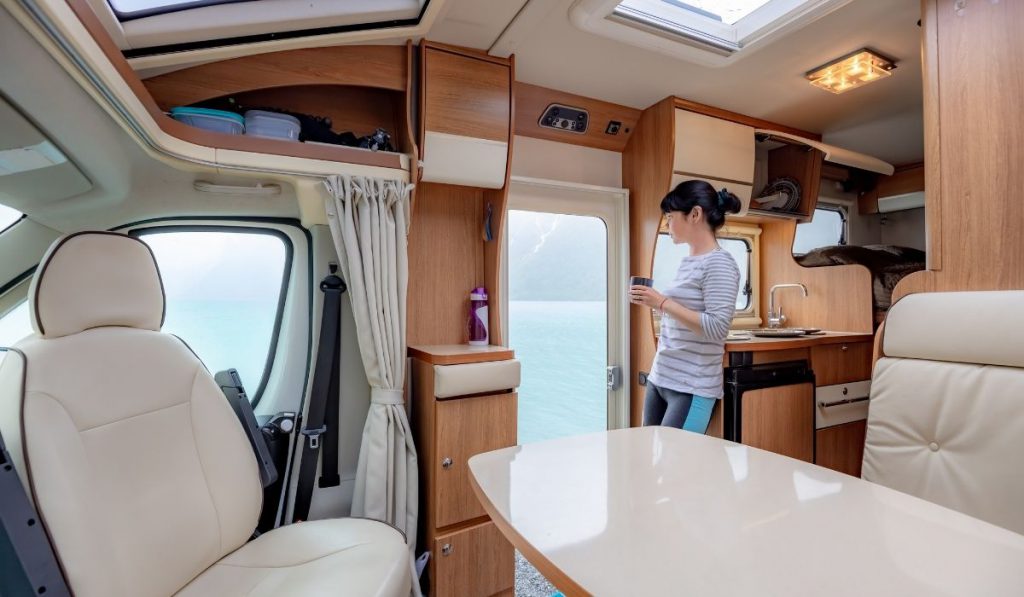
Once your RV is nice and neat, it’s time for general cleaning. Use this thorough cleaning time to make the general inspection. Check if everything looks and feels how it’s supposed to be.
Once you removed all unnecessary things from the inside, you have the opportunity to see some “hidden” parts you didn’t notice during the summer months.
If there is any kind of problem with drainage and water system, make sure to fix it before the winterization.
The end of the season may not be the best time to conduct big maintenance, however, if you want to properly preserve your RV, water supply and drainage system needs to be at least in working condition.
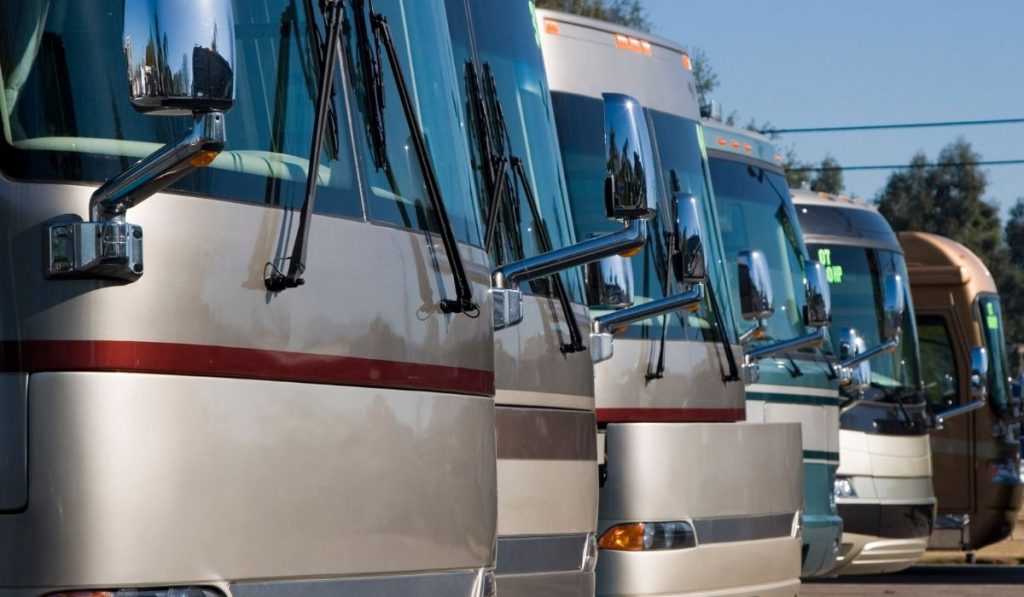
7. Find a decent place for your RV to hibernate
Keeping your RV safe and sound inside of a garage in your house would be the best-case scenario. However, because of its dimensions, this is often an impossible scenario.
Another, not so bad option is to store it in your backyard, ideally on a tented place. Otherwise, consult an RV cover manufacturer and find the best fabric specially made for your specific winter conditions. They will be happy to guide you to the whole process and suggest the best solution for your climate.
Putting your RV on a storage lot is the most common solution. Space will not be an issue as it is designed to accommodate these types of vehicles.
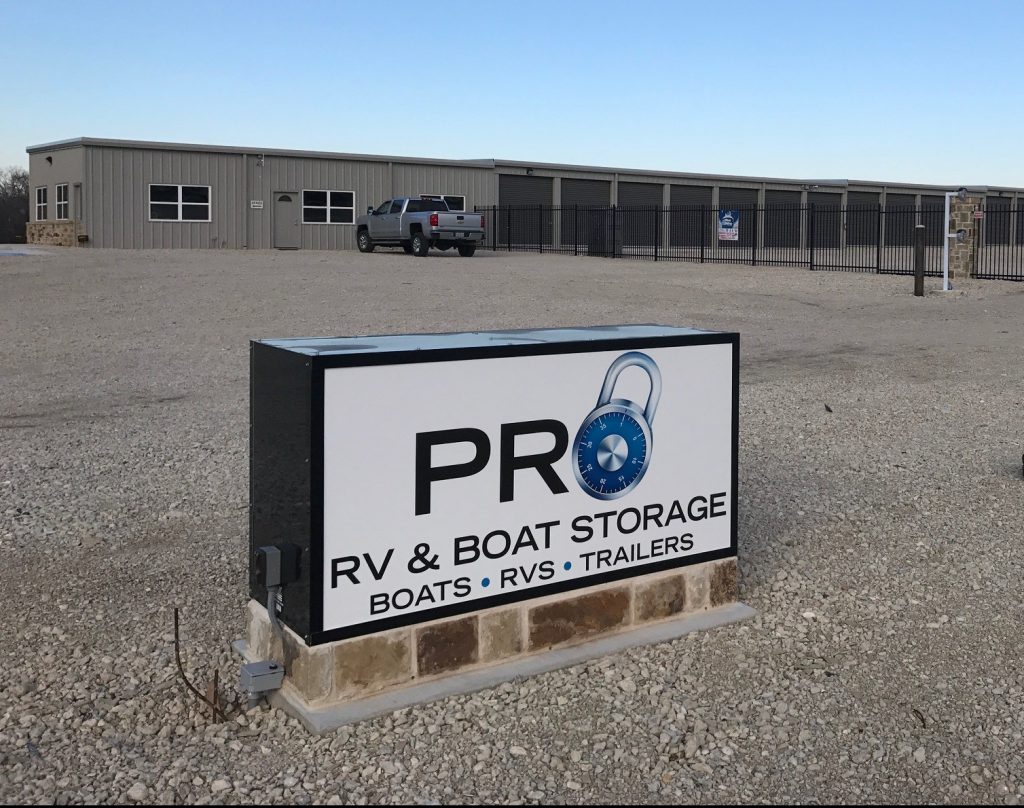
If you’re looking for a place to store your RV, ATV, or Boat, Pro RV & Boat Storage has got you covered! Here at Pro RV & Boat Storage, we offer a wide selection of parking units to accommodate your needs. To learn more about our storage facility, please check out our website at https://prorvandboatstorage.com/.

